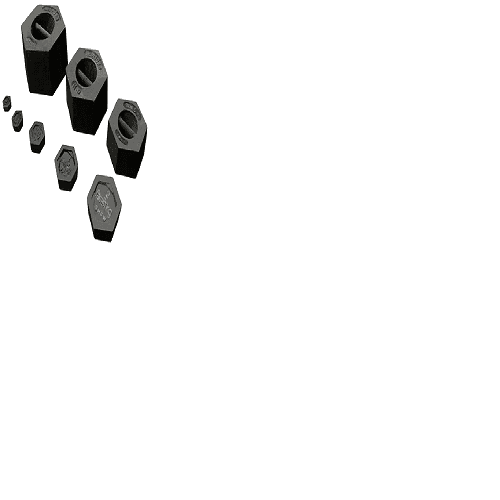
Types of Test Weights
Test weights are categorized by accuracy classes, material, and weight capacity.
Accuracy Classes
- Governed by standards such as OIML (International Organization of Legal Metrology) and ASTM (American Society for Testing and Materials).
- Classes specify tolerances for manufacturing accuracy.
| OIML Class | Use Case | Examples |
|---|---|---|
| E1 & E2 | High-precision balances | Laboratories, metrology labs |
| F1 & F2 | Precision balances | Quality control, research labs |
| M1, M2, M3 | Industrial and commercial scales | Weighbridges, warehouse scales |
Material
- Stainless Steel: Used for high-precision weights (E and F classes); resistant to corrosion and wear.
- Cast Iron: Common for heavy-capacity weights (M classes); durable and cost-effective.
- Brass or Aluminium: Sometimes used for lightweight or mid-range applications.
Weight Capacities
- Ranges from 1 milligram (mg) to several tons, depending on the application.
Applications
- Calibration of Weighing Equipment:
- Used to adjust and verify the accuracy of scales and balances.
- Routine Testing:
- To check for drift or inaccuracy in weighing systems over time.
- Compliance with Regulations:
- Many industries require routine calibration to comply with legal metrology standards.
- Verification of Load Cells:
- Ensures that load cells in weighbridges and industrial scales function correctly.
Selecting the Right Test Weight
- Determine the Required Class:
- Match the test weight’s accuracy class to the precision of the weighing system.
- Capacity:
- Choose weights sufficient to test the maximum capacity of the scale or weighbridge.
- Material Considerations:
- For harsh environments, use corrosion-resistant materials like stainless steel.
- Certified Weights:
- Use weights with traceable calibration certificates from accredited labs.
Calibration Procedure
- Preparation:
- Ensure the weighing equipment is clean and on a level, stable surface.
- Allow time for the equipment to stabilize in the environmental conditions.
- Perform Zeroing:
- Tare the scale before placing the calibration test weight.
- Apply Test Weights:
- Use weights of known value, starting from low to high or vice versa.
- Record and Adjust:
- Compare the displayed weight with the true value of the test weight.
- Adjust the weighing instrument if discrepancies exceed allowable tolerances.
- Documentation:
- Maintain records of calibration results for regulatory compliance.
Maintenance of Test Weights
- Handling:
- Use gloves or tweezers for smaller weights to avoid contamination.
- Use lifting devices or proper handling tools for larger weights.
- Cleaning:
- Regularly clean with a lint-free cloth and appropriate cleaning agents.
- Avoid abrasive materials that can damage precision surfaces.
- Storage:
- Store in a dry, temperature-controlled environment to prevent corrosion.
- Use protective cases or racks for organized storage.
Regulatory Compliance
- Traceability:
- Test weights must have traceable calibration certificates to national or international standards.
- Recalibration:
- Regular recalibration of test weights is required, typically once a year, depending on usage and regulatory requirements.

Reviews
There are no reviews yet.